Creating Native Gardens
At the core of environmentally friendly landscapes is the use of native plants. Native plants are species that were present locally when the first European settlers arrived. These plants have evolved over thousands of years to be able to live on rainwater alone, without adding fertilizer, and their deep roots help infiltrate rain where it falls and carry the moisture deep into the ground to replenish our aquifers, cleaning it as it goes.
As you start this year’s yard work and lawn care and are dreading the thought of mowing grass and applying fertilizer and weed killer, take a step back and think of the native possibilities. There are countless ways to incorporate native vegetation into your home landscape. Start one plant at a time — or create a whole new flower bed.
Check out our tips on creating native gardens that are pleasing to the eye and nature.
The Garden Refresh Project
A number of years ago, we redesigned our native plant garden beds at the McDonald Farm. The refreshed gardens are great examples of environmentally-friendly landscaping for a home, business, or community space. Check out the garden plans, plant lists, and webinars to spark ideas for your next native garden.
RAIN GARDENS
To call a rain garden a “rain garden” is a bit of a misnomer. It conjures up visions of wet places and open water which is typically not a rain garden at all! Usually, a rain garden is a dry place except after a rain storm. Simply, rain gardens are designed as a low, shallow “bowl” in the ground that can receive and hold rain water runoff from your roof, driveway, or sump pump, giving the water time to soak into the ground.
Why Rain Gardens?
Most of our home landscapes are designed so water “runs off” the property quickly into the street where it is directed to a storm drain. Engineers and designers have come to recognize that collecting water this way and emptying the collecting pipes into our local creeks and rivers is not the best strategy for protecting these important resources. Rain water is now typically drained into retention/detention “ponds” that hold this runoff for a period of time and release it at a slower rate into the receiving pipe collection system.
However, there are problems with these areas too. They are designed to receive a large amount of water quickly from surrounding streets. The water is often hot from the hot asphalt road surface in the summer and contains oils, dirt, and other contaminants. Where retained water levels are low, they quickly fill with weedy invasive species that are difficult to control. Where the sides of the basins are steep, the sides become unstable and erode.
Adding a rain garden to your yard to capture some of the rainwater from your roof and soak it into the ground close to where it falls is a great strategy to help address these problems. Rain gardens reduce the amount of water that enters detention ponds and street drains, helps replenish groundwater and cleans and cools the water as it moves through the soil. (Read more about the benefit of native plants’ deep root systems) Rain gardens also provide an opportunity to add new plants to your garden that will help support more pollinators and other wildlife!
A Rain Garden How-To
Rain gardens are pretty easy to build, but there are a couple of things you will want to remember before you start.
- Your rain garden can be any shape; square, rectangular, circular, or serpentine
- The location you select should be more than 10 feet away from the house and away from an existing septic field
- It should also be located where you are sure you are able to create a gently sloping channel from the source of the water (downspout and/or sump outlet) to the top of the rain garden where it enters (the channel doesn’t have to be steep)
- The depth of your rain garden should be approximately 6″ – 8” deep and should have a flat bottom to maximize the amount of ground over which rain water can soak in (infiltrate)
- The sides of the rain garden should be laid back at a gradual slope
- Some or all of the soil you dig out to create the rain garden can be gently mounded around the outside of the rain garden
- Include an “outlet” at the downslope side as an overflow outlet, but make sure your design doesn’t increase the amount of water that flows on to a neighbor’s property
- It’s a good idea to check the infiltration rate of the soil where you are creating your rain garden (see references below)
- If you want to amend clay soil to improve drainage, you can add mulch, but do not add sand; if done incorrectly you will only make the problem worse
Notes & Helpful References
You might find that some places recommend that you locate your rain garden in an area of your yard that is low and wet. Since more water cannot soak in where ground is already wet, this is not the best place. It can, however, be a great place for a flourishing native garden using plants that prefer more consistently moist to wet soils.
Soil moisture conditions in rain gardens will typically alternate between wet and dry depending upon the season and the amount of rain. It is important to understand how quickly water will soak in and to select plants that tolerate standing water for a short period of time (usually less than 24 hours).
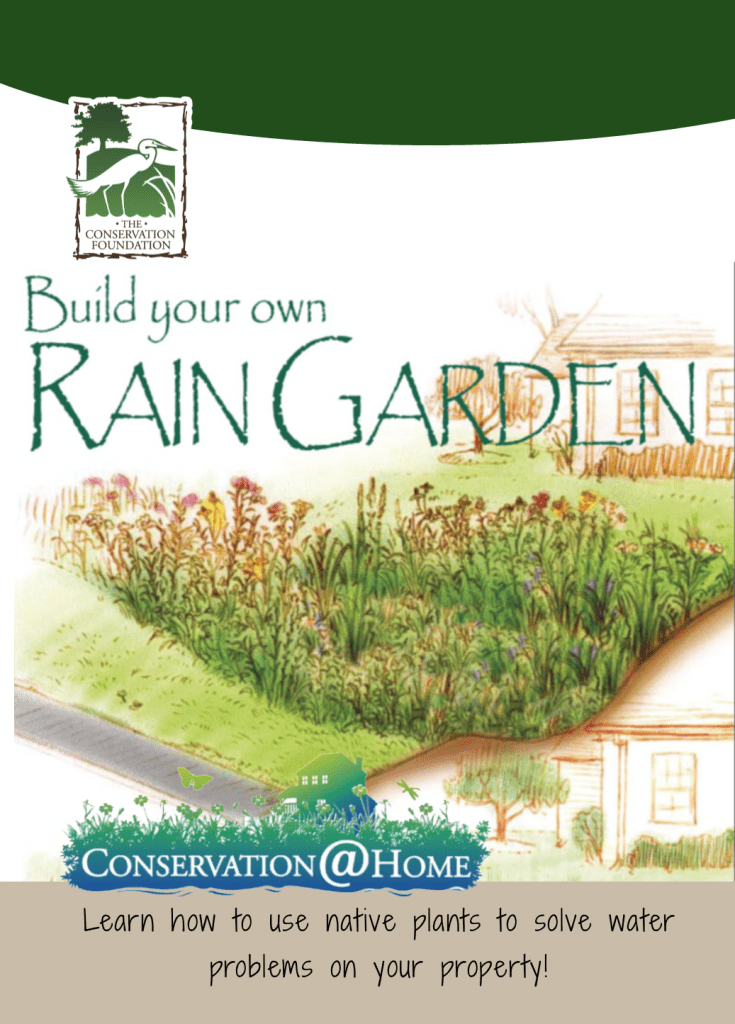
Building a Rain Garden
- Rain Gardens: A Guide for Homeowners and Landscapers: Wisconsin DNR. An excellent detailed 32-page guide.
- Build Your Own Rain Garden: The Conservation Foundation brochure
- It Starts with a Raindrop: Planning Your Rain Garden: The Conservation Foundation webinar
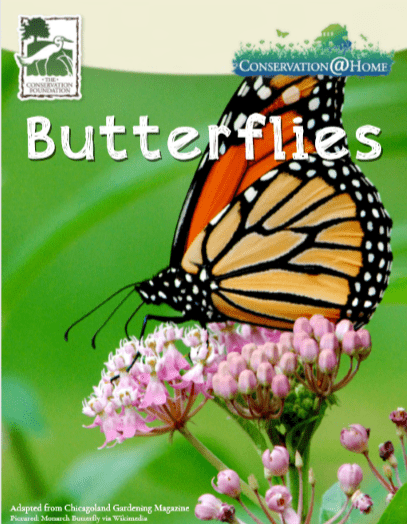
Butterfly gardens
A butterfly garden is an easy way to attract the many species of butterflies common to the Chicagoland area. These colorful gardens are full of native, nectar-rich plants that provide food for butterfly larvae and adults. They can be large or small, and adapted to almost any soil conditions. Birds and other insects will also delight in the seeds and nectar sources your garden provides.
Butterfly Garden Tips
Butterfly gardens are easy to construct, require little water once established, and do not need fertilizers. Here are some tips to keep in mind:
- Plants that attract butterflies should be planted in full sun, and ideally in a sheltered location (butterflies don’t like to fight the wind)
- Plan your garden to have colorful blooms from early spring to late fall by using our “How-To” Natural Landscaping Guide with suggested native plants, organized by plant height
- Avoid chemical fertilizers or pesticides, since these products typically do not target a single species and will impact butterflies. Plus, native plants don’t need them
- Monarchs need milkweed so if you want to help this imperiled species, make sure your garden has some
- Watch our Creating a Butterfly Garden Webinar for more tips
Native Trees & shrubs
The use of native trees and shrubs is a great way to provide both beauty and habitat to any natural space. Native species serve as homes for a variety of animal life and are crucial to their survival. Certain native species’ ability to soak up and hold rainwater can make them useful in mitigating heavy rainfall and drought.
Use these resources to find native trees and shrubs that work best for your yard:
- Morton Arboretum Tree Finder (filter by natives)
- Possibility Place Nursery Plant Finder
- Healthy Hedges Guide: Chicago Regional Tree Initiative

Where to get Native Plants
More and more nurseries in our area are carrying native plants, which is great news for us and for the wild communities that need our help. You can find our recommended local nurseries that sell native plants on our Professional Resources & Nurseries section.
You can also find native plant sales happening this spring on the Greater DuPage Wild Ones website.